Blender reference
Conductor for Blender is an add-on that allows you to submit rendering jobs to Conductor from within the Blender UI. This document is a comprehensive guide to all features and configurations of the add-on. For a quick start guide, visit the Blender tutorial page.
Key Features:
Conductor Job:
The plugin allows users to preview the submission script and submit the rendering job directly to Conductor, streamlining the workflow.
General Configuration:
Users can configure various aspects of their rendering project, including job titles, project selection, instance types, machine types, and more.
Render Settings Control:
The plugin offers control over render settings like resolution, camera overrides, and sample counts, allowing for detailed customization of the rendering process.
Frame Range and Scout Frames:
Users can specify custom frame ranges for rendering and opt to use scout frames to preview render results before committing to a full job.
Add-ons:
The plugin supports the management of additional Blender add-ons, ensuring all necessary components are included in the render job.
Advanced Settings:
Advanced settings, including extra assets, custom environment variables and additional rendering options like audio disabling, can be configured.
Conductor Job
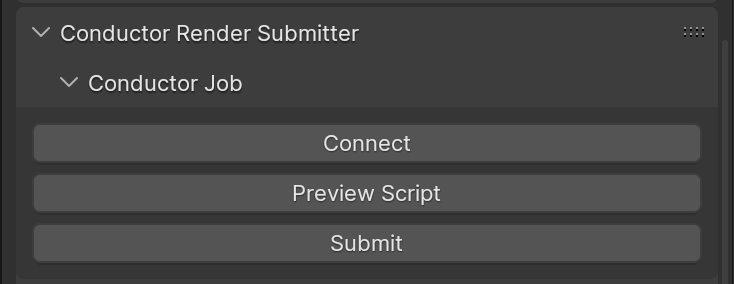
Connect
Initiate a connection with Conductor to access information specific to your account, such as the range of available projects, software packages, and instance types. Pressing 'Connect' is the initial step in utilizing the Conductor Submitter.
Preview Script
Generate and inspect a JSON script tailored for offline job submission by clicking this button. The script dynamically updates in response to changes made within the submitter panels. Revisit this section at any time to verify that your submission data is accurately captured.
Submit
Initiate the process of sending your job to Conductor. This action transmits all the specified settings and data, ensuring that your project is queued and processed in the Conductor rendering environment according to your configuration.
General Configuration
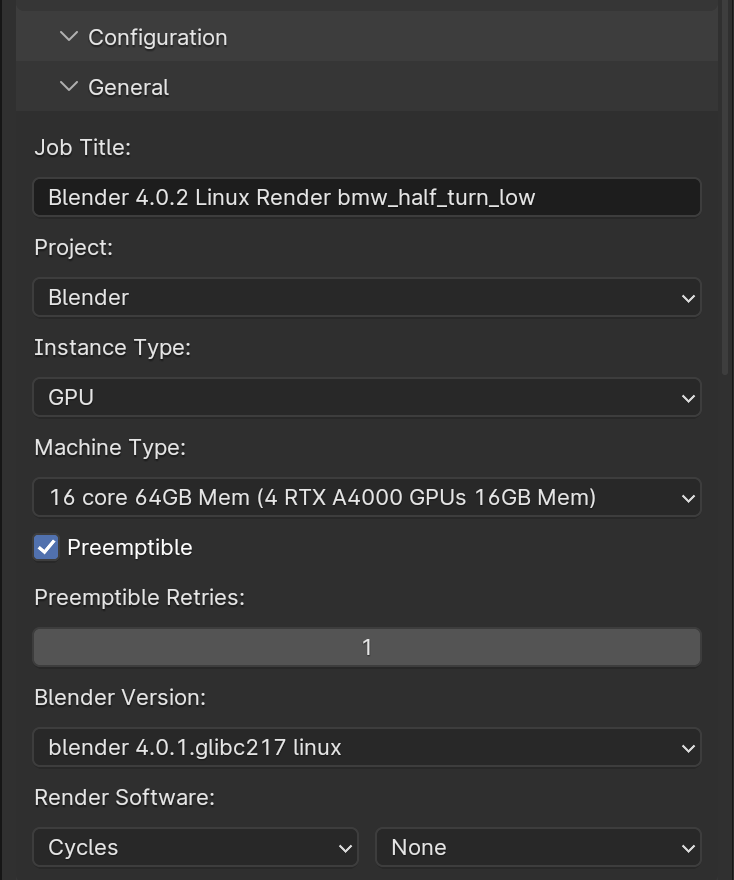
Job Title
The job title, displayed on the Conductor dashboard, aids in recognizing your job by referencing details like the blender name, renderer, and other relevant information. Feel free to modify the default title to suit your needs.
Project
This refers to a project on the Conductor dashboard. The dropdown menu is populated or updated when the submitter connects to your Conductor account. If the menu contains only the - Not Connected - option, press the Connect button.
If projects are added or removed since connecting to Conductor, you can press the Connect button again to refresh the list.
Instance Type
Choose from machines either with or without graphics cards. Utilizing a GPU is highly recommended for enhanced speed and efficiency, particularly when rendering with Cycles software. However, if you're using Eevee or Redshift rendering software, selecting a GPU-equipped machine is essential, as these renderers exclusively support GPU-based operations.
Machine Type
Select the optimal machine setup for your job by evaluating critical elements. For GPU-based machines, consider the number of cores, memory size, type of graphics card, and its memory capacity. In contrast, for CPU-focused machines, assess the number of cores and the available memory.
Preemptible
Preemptible instances are less expensive to run than non-preemptible. The drawback is that they may be stopped at any time by the cloud provider. The probability of a preemption rises with the duration of the task. Conductor does not support checkpointing, so if a preemption occurs, the task starts from scratch on another instance. It is possible to change the preemptible setting in the dashboard for your account.
Preempted retries:
Preempted Retries: Determine the automatic retry count for tasks that get preempted. This setting is applicable and significant only when the 'Preemptible' option is active.
Blender Version
Choose the specific Blender version for job submission. This version may vary from the one installed locally. Be aware of any feature variations between versions that might affect your render. Note that changing this setting will modify the lists of accessible renders and add-ons accordingly.
Render software
Choose the appropriate rendering software based on your requirements. For Cycles, it's highly recommended to use a GPU instance type to ensure maximum performance and efficiency. In the case of Eevee or Redshift, selecting a GPU instance type is essential, as these renderers exclusively support GPU processing.
Render Version
Choose the specific version of your rendering software. Note that for Cycles and Eevee renders, version selection is not applicable as these renderers do not have distinct version options.
Render Settings
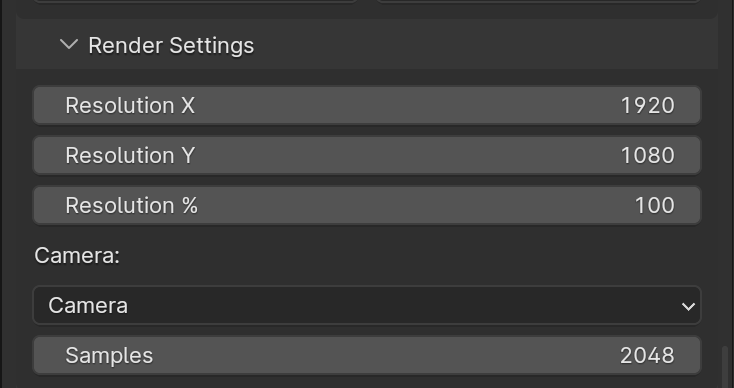
Resolution X
Customize the X resolution for job submission, independently from the Blender scene's setting. This option specifies the number of horizontal pixels in the rendered image. Note that altering this value here will not affect the Resolution X in your Blender scene.
Resolution Y
Customize the Y resolution for job submission, independently from the Blender scene's setting. This option specifies the number of vertical pixels in the rendered image. Note that altering this value here will not affect the Resolution Y in your Blender scene.
Resolution Percentage
Adjust the resolution scale percentage specifically for job submission, without affecting the Blender scene's settings. This parameter determines the proportion of the render resolution. Changing this value here won't impact the Resolution Percentage in your Blender scene. To see the final rendering resolution for the job submission, click on the 'Preview Script' button above.
Camera
Set a specific camera for job submission, distinct from the active camera in your Blender scene. Modifying this selection will not alter the active camera within your Blender scene. Ensure you choose the desired camera for your final rendered image.
Samples
Specify a custom number of render samples for job submission, which may differ from the setting in your Blender scene. Render samples represent the count of samples per pixel, crucial for defining the detail and quality of your rendered image. Choose a samples value that suits your scene's needs; note that while higher render samples can enhance image detail, they also increase rendering time without significant improvement beyond a certain point. For optimal performance and speed, especially with high sample rates using the Cycles renderer, opting for a GPU rendering instance is highly recommended.
Frames
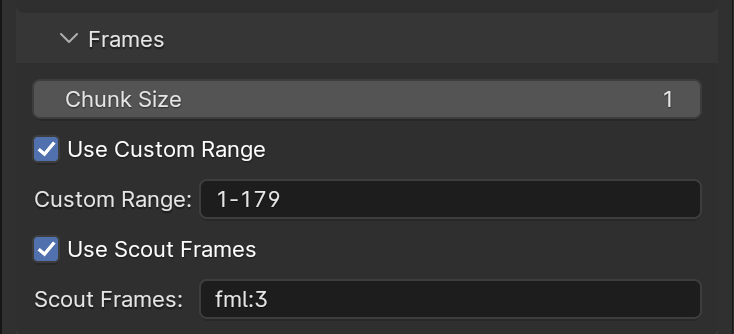
Chunk Size
Set the frame quantity per chunk, with a chunk constituting a batch of frames rendered collectively. Opt for a chunk size of 1-5 for intricate scenes to maintain detail and manage complexity effectively. For simpler scenes, a larger chunk size of 10-20 is recommended, and consider deactivating scout frames for efficiency. Treating task frames as part of a continuous animation sequence, rather than as distinct frames, optimizes the rendering workflow. This approach significantly reduces computational load, leading to quicker rendering outcomes.
Use Custom Range
If enabled, this option permits the alteration of the frame range defined in the Blender scene settings.
Custom Range
Customize the frame range independent of the Blender scene settings, such as using a range of 1-100. This field is editable for manual input or can be auto-filled using an expression. Valid frame ranges include comma-separated lists of arithmetic sequences, denoted as individual numbers or hyphenated ranges with an optional step value (e.g., x for intervals), like 1,7,10-20,30-60x3,1001. While spaces and trailing commas are permissible, letters and non-numeric symbols are not. Both negative and mixed ranges are accepted, such as -50--10x2,-3-6.
Use Scout Frames
Activate the Scout Frames feature. Further details provided below.
Scout Frames
Set 'fml:3' for scout frames at the start, middle, and end (e.g., '1, 51, 100' for a range of 1-100) or 'auto:3' for evenly spaced frames (e.g., '17, 51, 84'). This feature is crucial for previewing render quality before processing the entire job. However, when using chunk sizes larger than one, be cautious with scout frames to avoid unnecessary rendering. Refer to the frames info panel for more specifics.
Frames Info
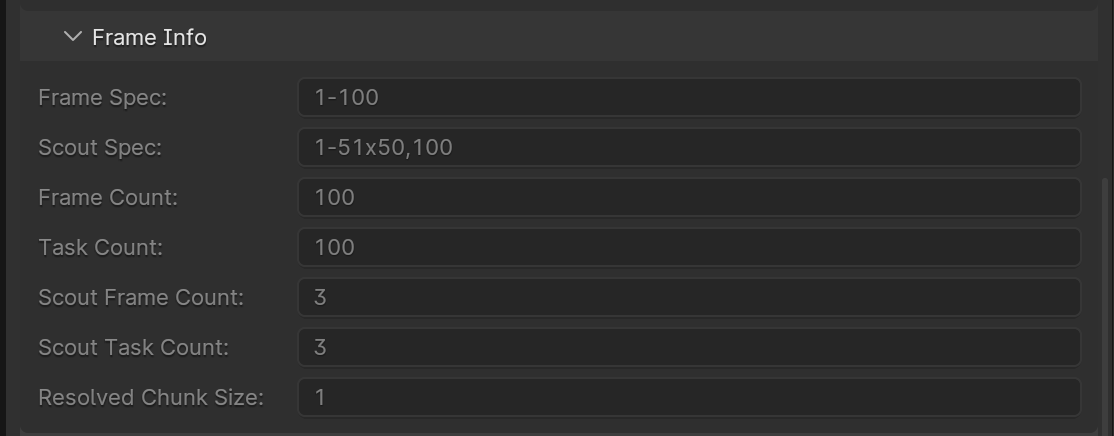
Frame Spec:
Read-only parameter to show the frame range.
Scout Spec:
Read-only parameter to show the resolved scout frame spec.
Frame count:
Read-only parameter to show the number of frames to render.
Task count:
A read-only field that displays the total number of tasks. For instance, setting the chunk size to 2 results in the creation of half the number of tasks compared to the total frames.
Scout frame count:
This read-only field indicates the quantity of scout frames. Should the chunk size exceed one, the actual number of frames rendered could surpass the designated scout frames, as tasks are rendered in full without partial execution.
Scout task count:
A read-only attribute displaying the count of tasks encompassing the chosen scout frames.
Add-ons
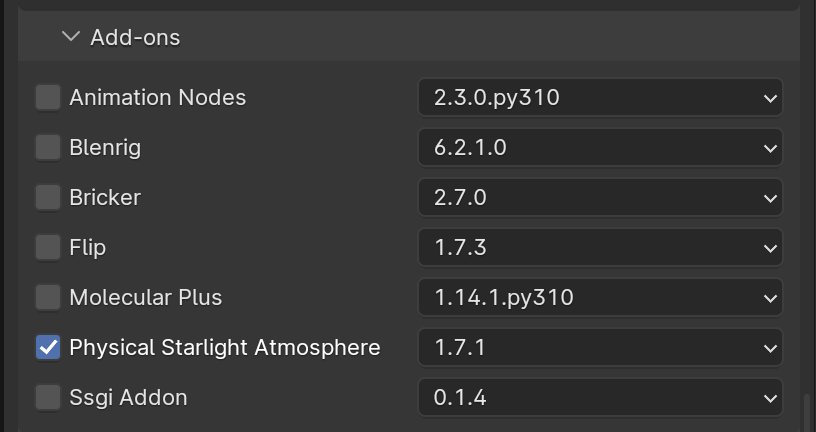
Choose from the list of Blender add-ons compatible with your selected Blender version. Be aware that changing the Blender version will update the available add-ons and their respective versions. Ensure you select the add-on and its version that best suits your needs.
Advanced section
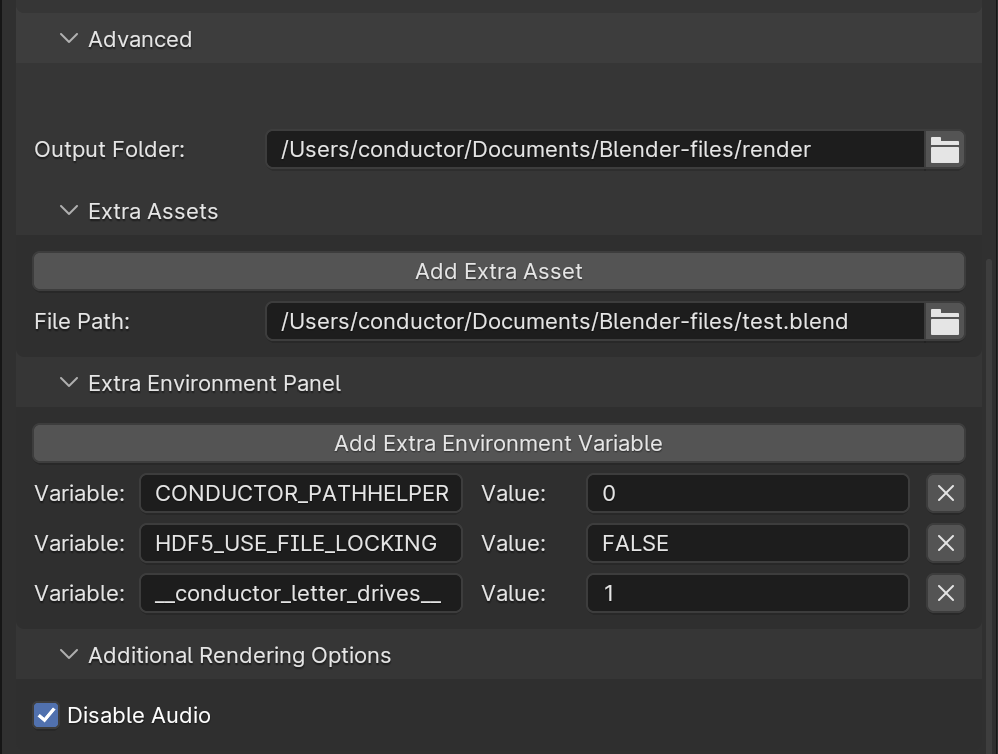
Output folder
This is the destination folder for downloading rendered images. Ensure this folder and its subfolders are not used to store assets required for scene rendering to avoid any conflicts.
Add Extra Asset
Search and upload files or entire folders missed by the automatic asset scan. For an overview of detected assets, check the 'upload_paths' listed in the preview panel, ready for upload. Utilize this functionality to incorporate special elements such as custom scripts, textures, or crucial files into your render job. It's important to note that this feature should not be used for assets already integrated within the Blender scene; for those, please rely on the 'Linked Assets' functionality.
Add Extra Environment variables
Define environment variables and their values for your job submission. This is especially useful if you're using custom shell scripts that require modifications to the PATH variable for detection. Should you need to include such scripts, ensure they are selected in the extra assets section.
Keep in mind, for submissions from Windows, it's important to exclude the drive letter from the script's path while configuring the environment variable. You have the option to designate environment variables as either exclusive, replacing existing values, or appendable, adding to them.
Additional Rendering Options
A list of additional rendering options is available for advanced control over the rendering process. These options include:
Disable Audio
Force sound system to None, disabling audio in Blender for rendering tasks